Pimping Creative Shapes
This idea is inspired by nailsup_ ,an amazing nail tech that I follow on Instagram. Check out her nail art, it is impressive.

I tried to recreate the nail art, breaking it down into a similar form. So here's my simple version.


Things you need:
Base
- China Glaze - Pelican Gray (grey)
Shapes
- OPI - Grape...Set...Match (purple)
- China Glaze - Sugar High (pink)
- China Glaze - Orange Knockout (orange)
Lines & Dots
- Acrylic Paint Black
- Acrylic Paint Titanium white
Tools
- Medium size nail paint brush
- Thin size nail paint brush
- Dotting tool


Here's how:
Preparation - Start off by doing your own basic manicure, cleaning your
cuticles and prep your nail ready. (Click here for my version)
cuticles and prep your nail ready. (Click here for my version)
Step 1 - Apply your fav base coat
Step 2 - Apply 2 coats of Grey nail polish on all nails
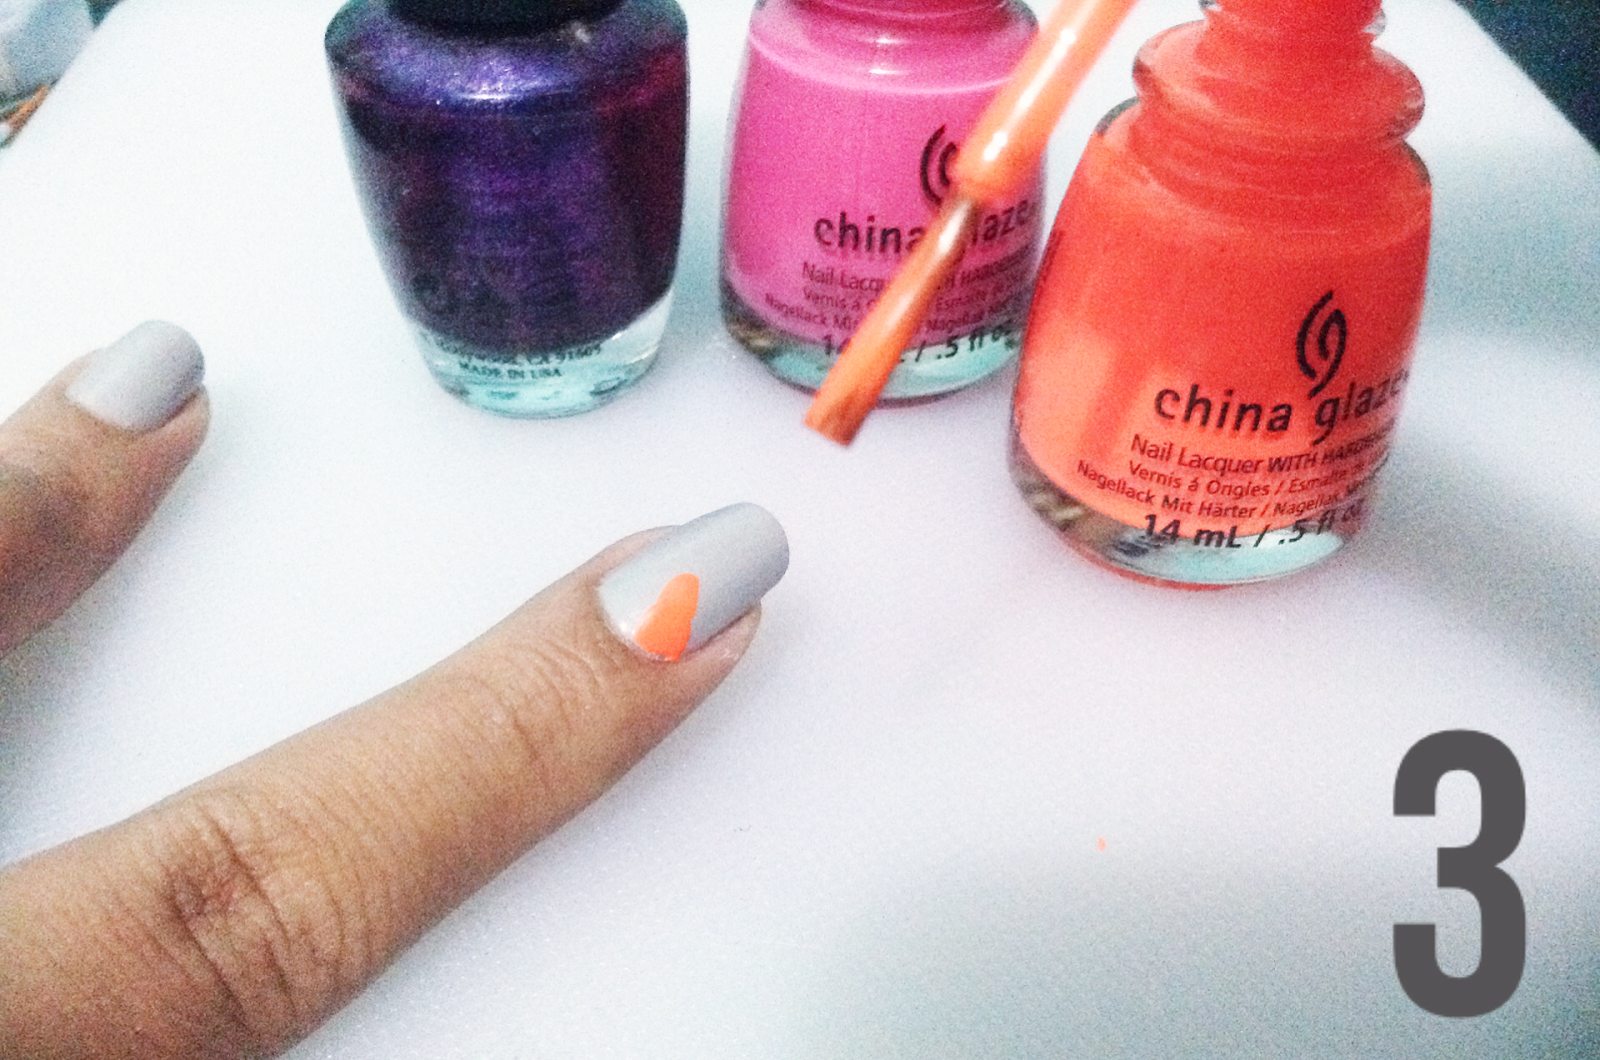
Step 3 - Remove excess orange nail polish, leaving only a tiny bit on the tip
of nail polish brush
- Paint on a triangle at left side base of nail bed
Step 4 - Remove excess pink nail polish, leaving only a tiny bit on the tip of
nail polish brush
- Paint on a rectangle at right side base of nail bed
Step 5 - Remove excess pink nail polish, leaving only a tiny bit on the tip of
nail polish brush
- Paint on a square in the middle of nail bed
Step 6 - Using orange nail polish to paint a long rectangle on left top side of nail bed
* you could attempt same shapes for other side or be creative and play with filling in shapes on your nail bed
* don't worry if your shape is not clear or the corners are not sharp, Step 7 will cover that
Step 7 - Prepare black acrylic paint onto work station, diluting 1 drop of
acrylic paint with 1 drop of water. Mix it well , you do not want the
paint to be watery but diluted enough to glide onto nails smoothly
- Coat medium size brush with black acrylic paint and paint on lines
around shapes you have created
around shapes you have created
Step 8 - Prepare white acrylic paint onto work station, diluting acrylic paint
with water. Mix well
Step 9 - Using a dotting tool (preferably small dots dotting tool), dip
vertically into white acrylic paint and start dotting onto nail
- Choose maybe 1 or 2 shapes per nail to add white dots in
Finish - Apply your fav top coat and you are set to go!
For this nail art, you could let your creative juices flow. I create shape nail art only 1 nail per hand but if you like you could explore different shapes on all nails, play with shape colours and dots.
I had fun creating this nail art, hope you will too!
Let creative shapes be your bestfriend
Faith.Love Feline
No comments:
Post a Comment