Classic French Manicure & Lines
I Love classics. From classic movies like Gone with the Wind to fashion icon Audrey Hupburn... Something about the word Classic stirs romance in my thought.
Think Paris. Well I never been there but the postcards on Effiel Tower and building surrounds it are , well in my words classic. So yes I am having a bit Paris fever now and decided to create a very simple Classic French manicure mix with brown,gold line manicure.
Here's what you need:
Base
- OPI - Chocolate Moose
- Nicole OPI - That's Putting it Mild
Nails Art
- OPI - Angel with a Leadfoot
- Nicole OPI - That's Putting it Mild
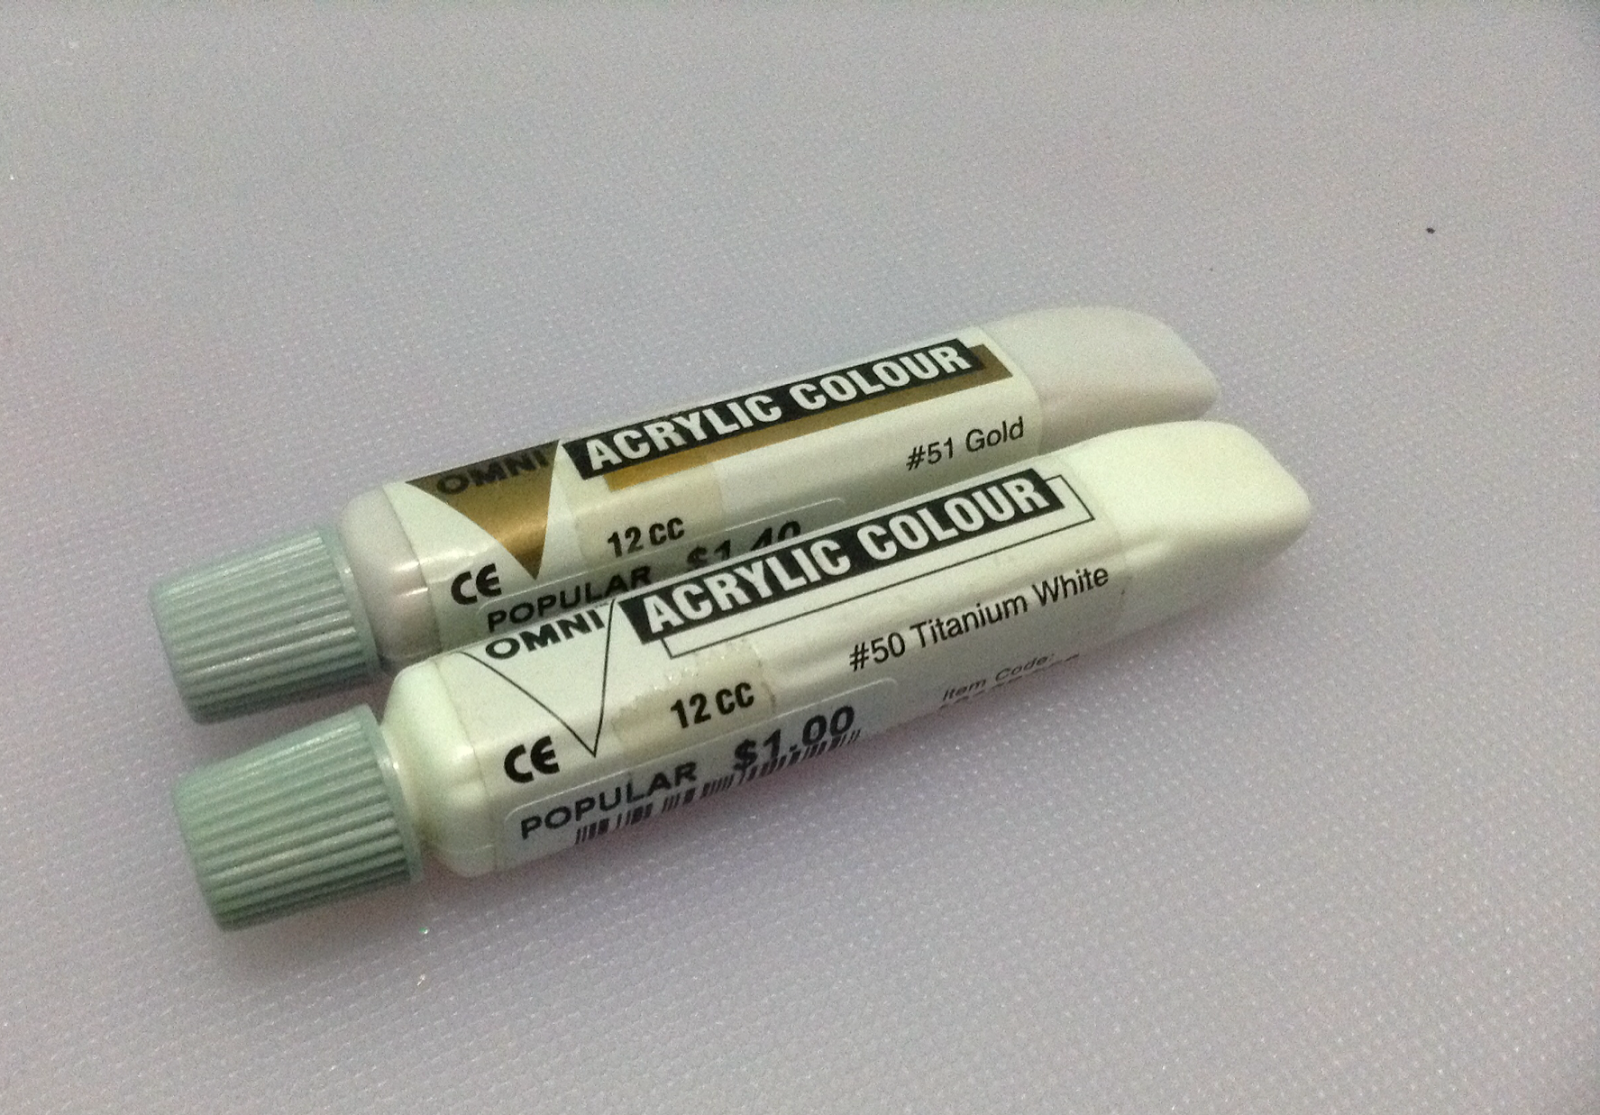
- Acrylic Gold
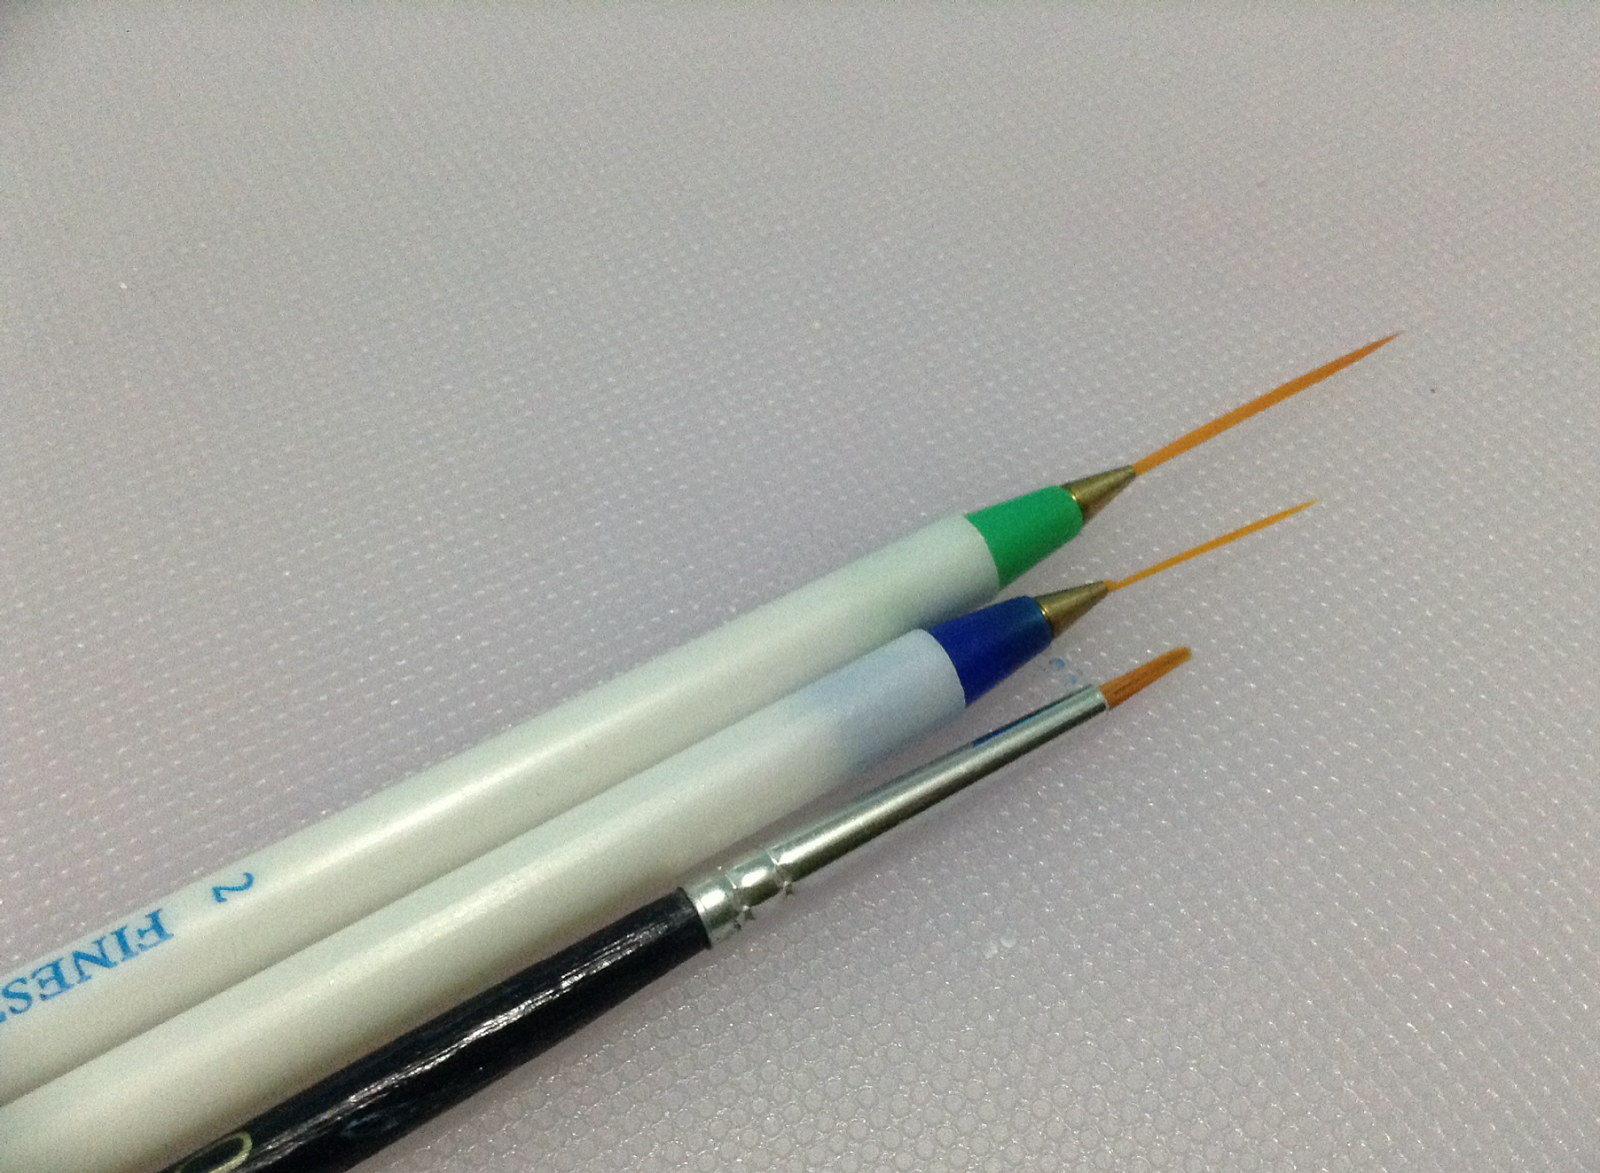
Nail Art Brushes
Here's how:
and prep your nail ready. (Click here for my version)
Step 1 - Apply your fav base coat
Step 2 - Apply base colours (I have alternate the colours)
Step 3 - Let's start applying our French manicure
- Wipe out one side of nail polish brush and on the other side wipe out 3/4,
leaving only a small bit at the tip (you would want the polish on the brush
as little as you could)
- Paint the center on the free edge of your nude coloured nail (It is entirely
up to you how deep or low you want your nail free edge to be. A longer
nail bed creates the illusion of longer fingers)
- Next, Paint on the left and right side of your free edge
(try your best to keep it in a straight line)
Step 4 - For this part you could either use the same white nail polish or acrylic paint
- Prepare a drop of white polish on your work station and thinly coat nail
brush with the nail polish
- Paint a line on the very edge of your nail. Have this line longer then the
previously painted free edge
- From the inner end of the line, paint a curve. Curving from the tip to the
center of previously painted free edge
- Do the same for the other side of the nail and you would end up with a
nice curve free edge
Step 5 - After painting your free edge on all selected nails, add on a 2nd coat.
Don't worry if the paint is not smooth, it will work out after applying top coat
Step 6 - Now for Lines. I be using the nude colour for the line
- Prepare a drop of nude polish onto your work station and coat thin brush
- Gently glide a line of nail polish onto nail, the keyword is Glide
Step 7 - Do the same from Step 6 to other nails
- You could apply 1 or 2 nude lines onto nail
Step 8 - Now to apply gold acrylic paint
- Mix a drop of acrylic paint with a drop of water, mix it well till you
have a diluted paint
- Similar to Step 6, Glide on either a thin line or thick line
Finish - Apply top coat and there you go, my version of a classic nail art
Hope you love my very simple Classic nail art...
Let classics be our bestfriend
Faith.Love Feline


No comments:
Post a Comment