How to execute Dot Nail Art
Hi there Beautiful Felines!
In this September i'm gonna explore the use of Dot Nail Art. It is said that once you master Dot Nail Art you can practically do any nail art you wish.
First thing first, how do we draw a perfect dot? Well, with the use of a dotting tool or simple home accesories you are jet set to start dotting...
Here are things you could use

Here are the different sizes of dots it creates

You can use anything that has a rounded tip. For instance, I'm using the back of the dental floss.
Depending on which nail art you are doing, having different sizes of dots helps to create interesting layers to your design.
Here's how to DOT:
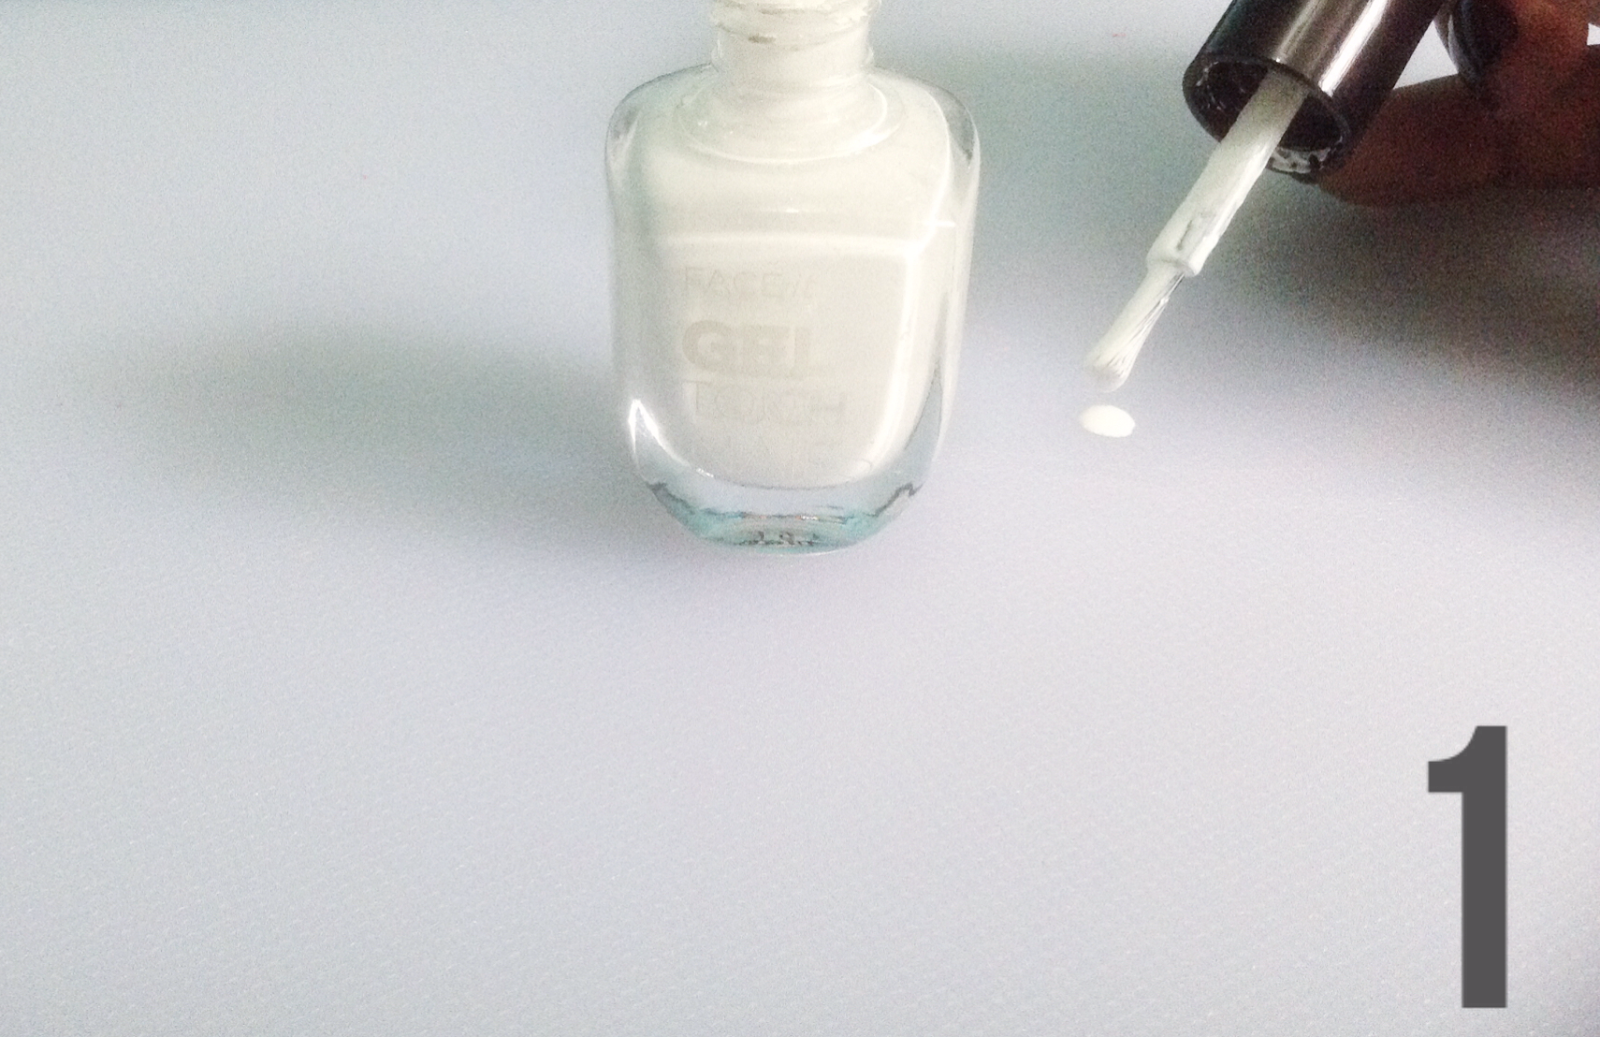


Step 1 - Unscrew the nail polish cap, without removing excess nail polish
on brush, directly dot nail polish onto palette
on brush, directly dot nail polish onto palette
*note: Nail polish colour is up to individual/art
Use Tupperware/Container cover for palette
(a base to place nail art polish)
(a base to place nail art polish)
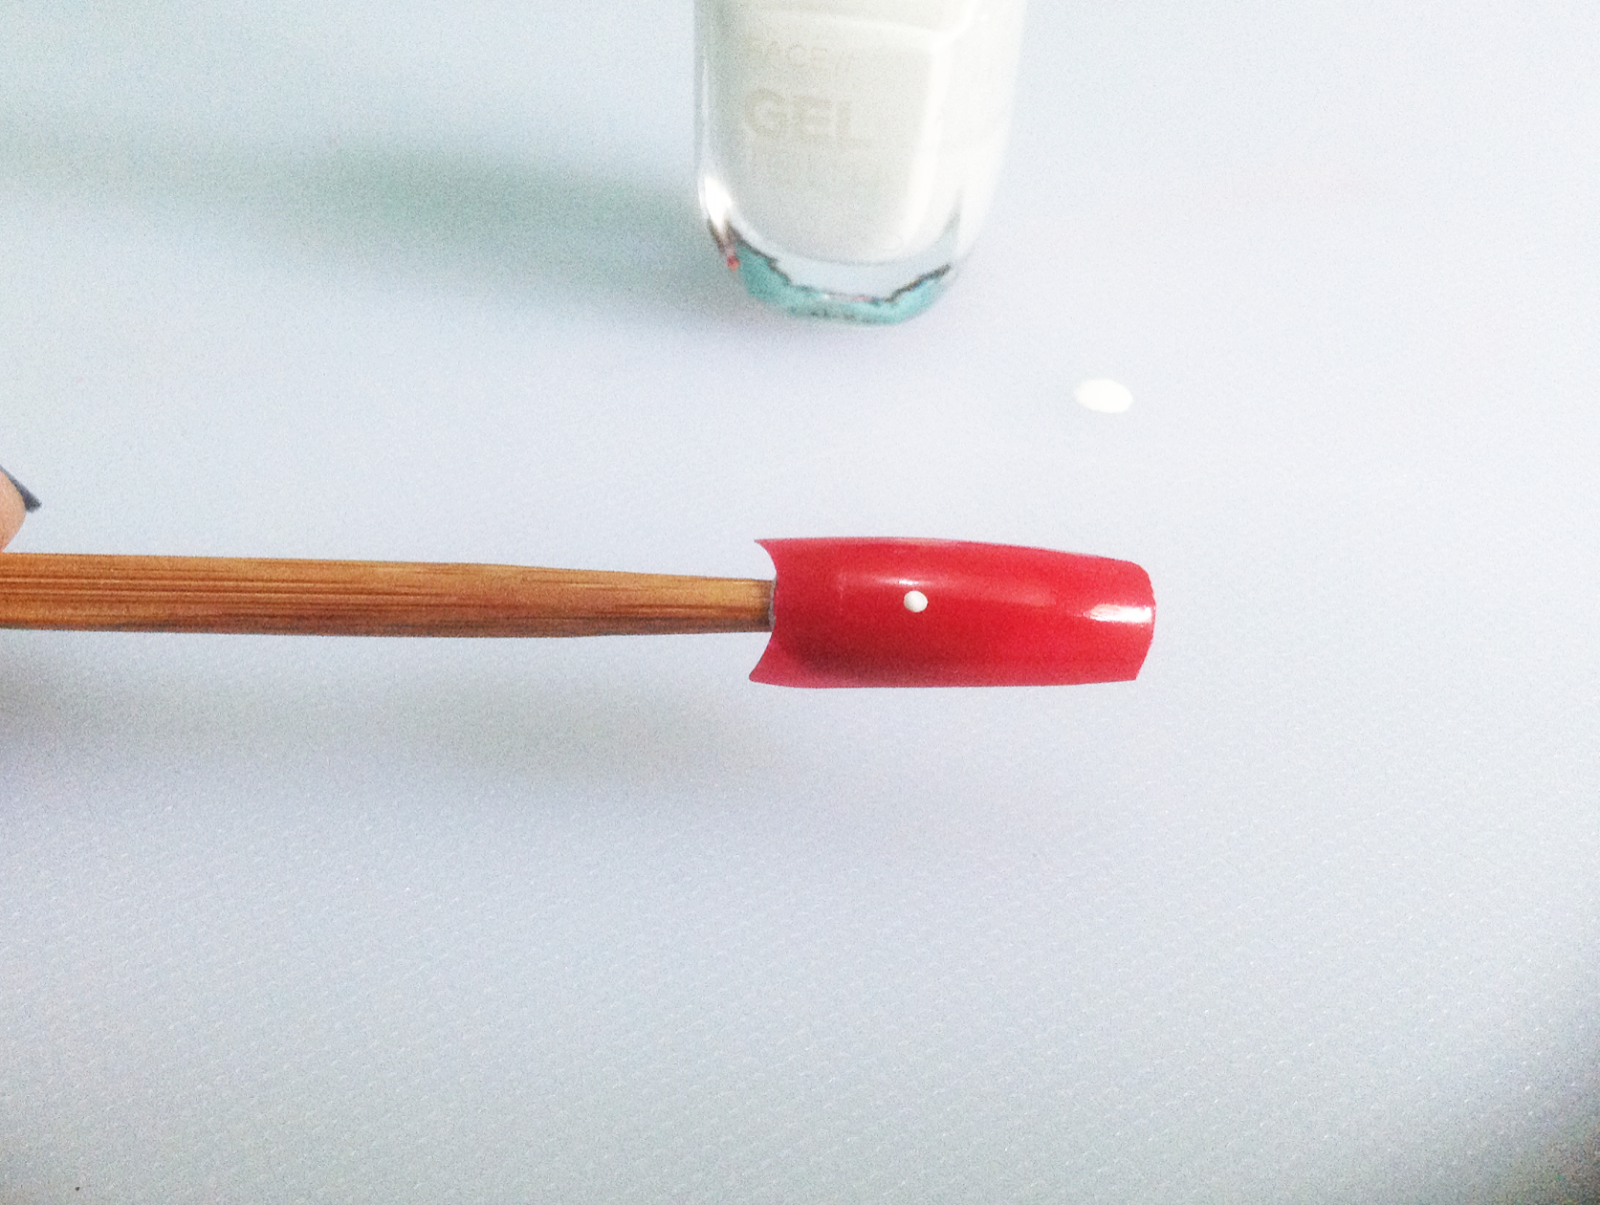
Step 2 - Pick up your desired 'dotting tool' and vertically tap onto nail polish
Step 3 - Decide where you want your dot to be place on your nails and
gently tap your 'dotting tool' vertically onto your nail
gently tap your 'dotting tool' vertically onto your nail
*note: the keyword is TAP, use the action of tap to pick up & place Dot
ALWAYS retap onto nail polisg before each application to nail
Now that you learn one dot, go on and add more and have fun!
Dont forget to add on Top Coat to seal in the nail art.
Let Dots be our bestfriend
Faith.Love Feline
Disclaimer:This was not a sponsored post. All views expressed are on my own
Disclaimer:This was not a sponsored post. All views expressed are on my own
No comments:
Post a Comment