Monday, 1 December 2014

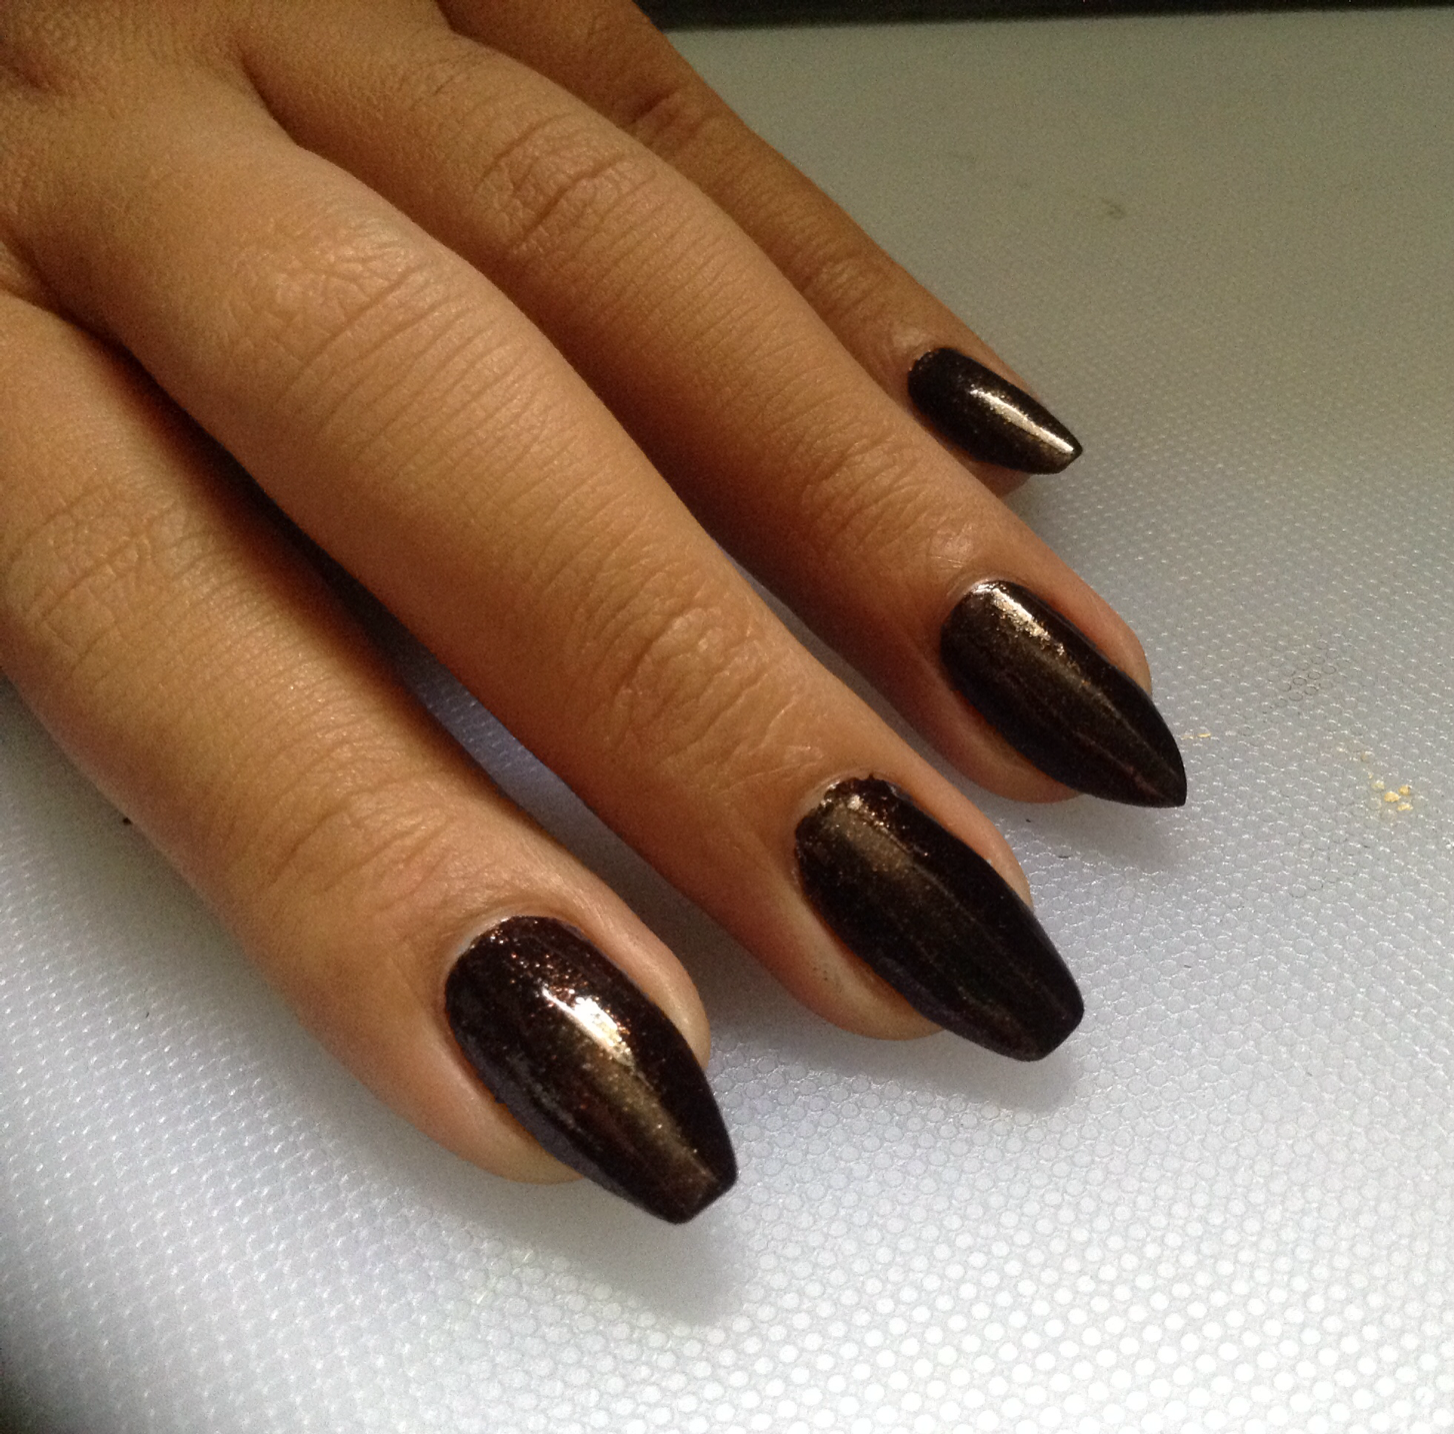
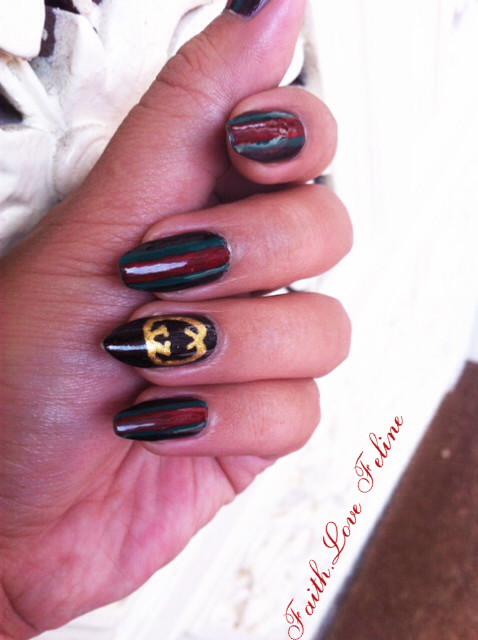
Nail Tutorial - Gucci Nail

Gucci.....

Gucci Gucci Gucci... My Favourite brand... which i cant afford...
So what I do? I paint my nail inspired by my fav brand...

Always start from level 1 ..  So I am doing the simplest Gucci inspired nail art - Strips.

Let's go!

Start cleaning your nails, cutile n nail bed, add 2 layers of  China
Glaze Midnight Town or Black nail polish.

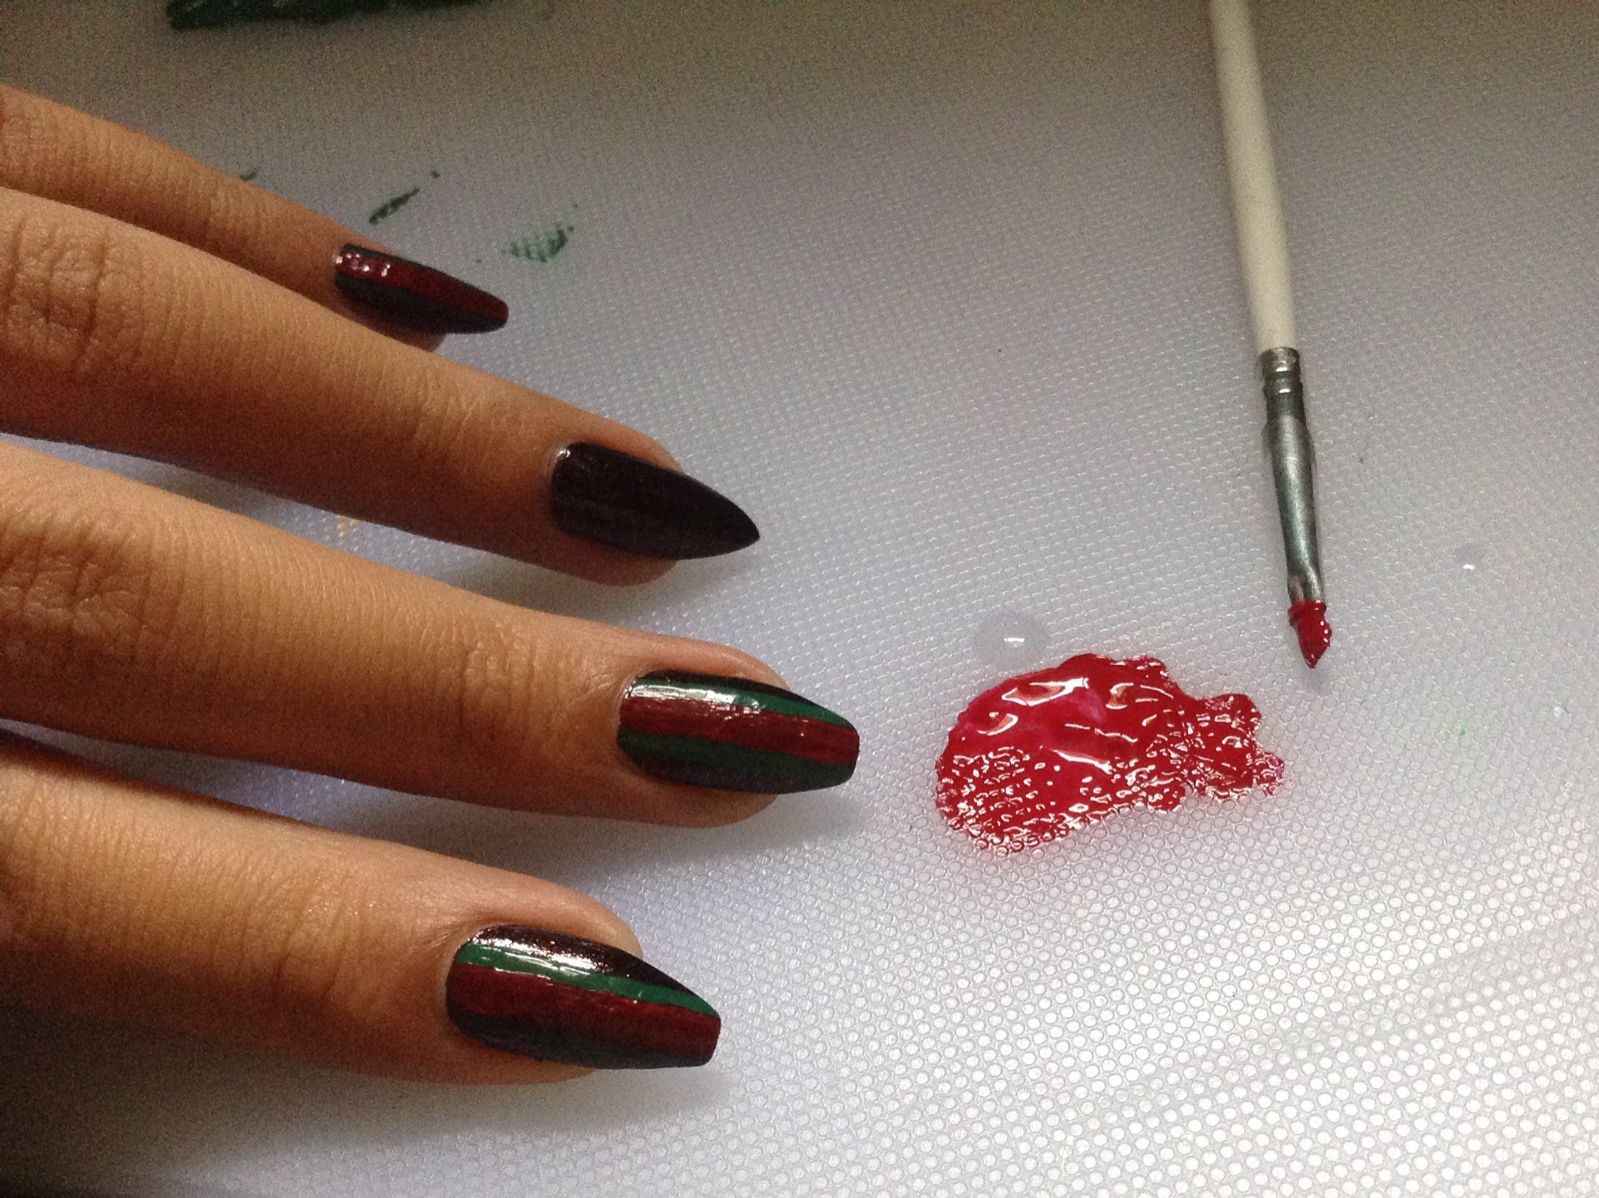
I'm using acrylic paint. Squeeze out 1 drop of paint and dilute with
1 drop of water for easy appliation. Carefully dip flat brush into paint
and paint on a strip in the middle of nail bed, leaving base colour peeping
out at the side.

Now for red acrylic paint. Same thing 1 drop pf paint : 1 drop of water.
Use smaller flat brush and paint in the center of the previously painted green
strip. Add top coat and you done.

Here's the flat brushes I use, different size.

Hope you love my Gucci nails...

Let Gucci be your bestfriend


Faith.Love Feline

Sunday, 23 November 2014

Nail Tutorial - Leopard Gel Nails


Leopard Gel Nails


Chance upon this amazing nail art online and decided to try it. It looks amazing and difficult but fret not i will break down the steps for you.

One thing... I wrote gel nails, do not be confuse with the gelish nail. Gel nail art is the use of mixing nail polish with clear nail polish creating a semi translucent polish. Almost jelly like.

I'm gonna contrast the colours with dark green from O.P.I Jade is the new black,
yellow from China Glaze Sun-kissed and light green from Faceshop GR501.

Apply 1 coat of  your favourite base coat, let it dry, apply 2 coats of
coloured nail polish. Im alternating the colours, the nail art will only
go onto light green nail polish.

I use my fav acrylic paint for the leopard print. Mix green with a little dark blue
to get close to my O.P.I colour.

Leopard print usually has a inner dot followed by the outer layer. For today i imagine i have the dot
and only paint the outer layer. You could click here for my full
leopard print tutorial and you would understand 

Using the prints to create shapes. Think of the shapes and fill that
shape with leopard prints.

Now to create Gel/Jelly polish. Mix 1 drop of clear nail polish
with 1 drop of green nail polish. Using the same brush and apply onto
nails. Don't apply to entire nails but section it. And with each application you
might need to remix the polish, you want the polish to smoothly
glide onto you nails and since the polish is exposed it dries out fast.

Create Gel/Jelly nail polish with the yellow and apply onto the parts
that you have not painted with green.
Let  it dry for 5 mins and apply your fav top coat.


And there you have it.... Contrast Leopard Gel Nail Art..


Let Leopard Gel be your bestfriend


Faith.Love Feline

Tuesday, 11 November 2014

Nail Tutorial - Pretty Mess


Pretty Mess 

To be honest i created this nail art based solely on boredom and lack of ideas. The amazing thing is it turned out awesome!!! hahahhhaa 


Not much description today so Let's Go....


Here are the nail polishes for today. O.P.I Angel with a Leadfoot
Nicole O.P.I Thats's putting it Mild, China Glaze Midtown Magic.

After your basic cleaning manicure, add a layer of your fav base coat.

Paint on 1 thin layer of White Nail Polish. Doesn't matter if its uneven,
 we will cover that up nicely.
Soon...

Get ready a makeup sponge. you might not need a big piece, so cut out desired size.
Oh make sure the size is a little bigger then your nail length.

Fold the makeup sponge into half, creating a curve. Apply 3/4 Nude & 1/4 white.
You might need to apply 2 coats on the makeup sponge, depending on the
thickness of the nail polish you using.

Now roll the sponge onto your nail, ater which start dabbing sponge
onto nail. Allow the nail polish to semi dry and repeat until you get the desired colour

Cover the entire nail bed . Yes it gets messy but we can clean that up.

I use a thick brush, dip into nail polish remover and clean up
the sides.
Tear up a small piece of Glad Wrap and crumbe it together.

Spread nail polish onto work station. DO NOT spread too much nail polish,
spread a thin layer.

Take the Glad wrap and dap onto the spreaded nail polish, just once or
twice is enough.
Dap Glad wrap onto nail. Maybe once or twice, don't over do it
you  will end up with a black nail.

Messy

Once you done with the black, repeat same technique and dap
white nail polish. Just dap once.


Voila You are done!


Let messy turn beauty be your bestfriend


Faith.Love Feline

Monday, 3 November 2014

Hair - Ellips Hair Mask


ELLIPS Hair Mask

As you my felines friends should know by now that i swear upon Ellips Hair Oil (Click here for my review on Ellips Hair Oil). Today i aint talking about the oil but instead their range of hair mask. 

I chance upon this product during one of my holiday in Indonesia. Pssst... Ellips is an Indonesian product. And guess what fellow Singapore Felines?! Mustafa Center is finally selling it, for a very affordable price of SGD$1.90 per pack of 20g. It was like X'mas came early.

If you have tried the hair oil, you will love this hair mask. One pack could cover a medium length hair, the texture is not oily and it has no strong frangrance. It will leave your hair soft and manageable, the effect is just like you came out of a expensive salon after their intensive hair treatment. Trust me it really works!

Do give it a try. It's only $1.90 nothing much to lose. And let me know if you love it...

Ellips Hair Mask


Contains 
  • Jojoba oil
  • Vitamin A, C & E
  • Pro vitamin B5
2 range of mask
  • Pink - Damage Reliever
  • Yellow - Frizz Tamer
  • Purple - Dazzling Shine Actio
How to use
  • After shampoo, towel dry hair
  • Cut up the packet and squeeze out the content 
  • Apply through hair gently, starting from the roots and work your way up to top of head as you would with a conditioner
  • Leave it in for about 5mins and rinse off 
When to use
Normal Hair -  Once a week
Oily Hair - Once every 2 weeks
Dry/brittle hair - Twice a week

*results may vary based on your hair condition
*above are recommendation that in would give but do monitor your results
*best to use it when your hair is super dry,frizzy and needs a Tame-Me-Up

Let Manageable hair be your bestfriend

Faith.Love Feline

* This is not a sponsored review, all review express are on my own


Friday, 31 October 2014

Nail Tutorial - LOVE


LOVE

How many of us really know what is LOVE? 

Time spent together, buying/receiving gifts, physical touch does this determine LOVE? or are they just fabrication of LOVE? Who will teach us or is it 'you will naturally know' thing?

Some say they are in love yet they expect material things from their partners.
Some say they are in love yet they only think about themselves.
Some say they are in love yet they control their partners till the point the partners stop loving. 

The elders once told me 'You will know LOVE when you are at your most comfortable and truest honest state, you will begin to love everything and everyone around you, your senses manifies, your inner happiness glows from within and pours out. Sometimes LOVE doesnt mean you need to own the person, you can love someone so deeply yet    because of certain situations, you both won't be together. BUT remember to love yourself while you are in love.'

LOVE is both happiness and sadness

This blog today dedicates to all who are in love or had loved.
                                                                                                                                     
    I miss you.....


I practice the fonts and strokes on my sketch book first

Using Purple nail polish as base, just cause it's my fav colour

Using acrylic paint and pointed soft bristle brush. 

After practice on sketch book, apply same brush strokes on nail. I found it best
when I have my brush vertical up. It allows using only the sharp tip of the brush.

This is why i love using acrylic paint. It's so easy to wipe off when you make
a mistake. Just wet cloth or tissue and wipe it off.


Voila Done!


Faith.Love Feline

Friday, 24 October 2014

Nail Tutorial - Happy Deepavali


Happy Deepavali to all Hindu friends!


The most colourful celebration in Singapore. Women prepares the festive with henna applied on their hands, new traditional outfit Sari and jewelries, cooking a stomp of their delicious food and Indian sweets, colourful Rangoli in the entrance of their humble homes and of course the star of today's blog a new bhindi to finish up the look.

Bhindi is a a forehead decorative worn by the Hindus . Traditionally a red dot but with times changing a jewelry could replace the red dot and match with the tradional sari.
The range of stick on bhindi goes from plain old red dot to decorated bindis with diamonds.

So I thought using bhindi is an awfully genius idea to celebrate Deepavali.

Here's what you need:


Base
  1. Base coat
  2. Top coat
  3. Models own - Lemon Meringue (yellow)
  4. China Glaze - Be more pacific (light green)
  5. China Glaze - Exotic Encounters (medium green)
  6. A set of Bhindi
*i am contrasting the nail colours with the bhindi hence China Glaze Exotic Encounters will not have a bhindi decorated.

Tools

  1. Scissors
  2. Tweezer
Here's how:


 Step 1 - Clean your nails with Basic Manicure (click here to see my version)
                  - apply base coat


 Step 2 - Apply nail polish on nails
                      * I alternate the colours


 Step 3 - Using a Tweezer, carefully peel off one bhindi from its packet


 Step 4 - Place bhindi beside your nail and measure where you need to cut / 
                    if your bhindi is small then you would skip this step


 Step 5 - Carefully stick the bhindi on the center of your nail
                 *I start placing at the middle bottom of my nail bed and slowly work my way up
                 - continue Step 3-5 for the rest of your nails


 Step 6 - Apply 2 layers of top coat for best coverage of the bhindi


Let traditional decoration be your bestfriend


Faith.Love Feline