Friday 31 October 2014

Nail Tutorial - LOVE


LOVE

How many of us really know what is LOVE? 

Time spent together, buying/receiving gifts, physical touch does this determine LOVE? or are they just fabrication of LOVE? Who will teach us or is it 'you will naturally know' thing?

Some say they are in love yet they expect material things from their partners.
Some say they are in love yet they only think about themselves.
Some say they are in love yet they control their partners till the point the partners stop loving. 

The elders once told me 'You will know LOVE when you are at your most comfortable and truest honest state, you will begin to love everything and everyone around you, your senses manifies, your inner happiness glows from within and pours out. Sometimes LOVE doesnt mean you need to own the person, you can love someone so deeply yet    because of certain situations, you both won't be together. BUT remember to love yourself while you are in love.'

LOVE is both happiness and sadness

This blog today dedicates to all who are in love or had loved.
                                                                                                                                     
    I miss you.....


I practice the fonts and strokes on my sketch book first

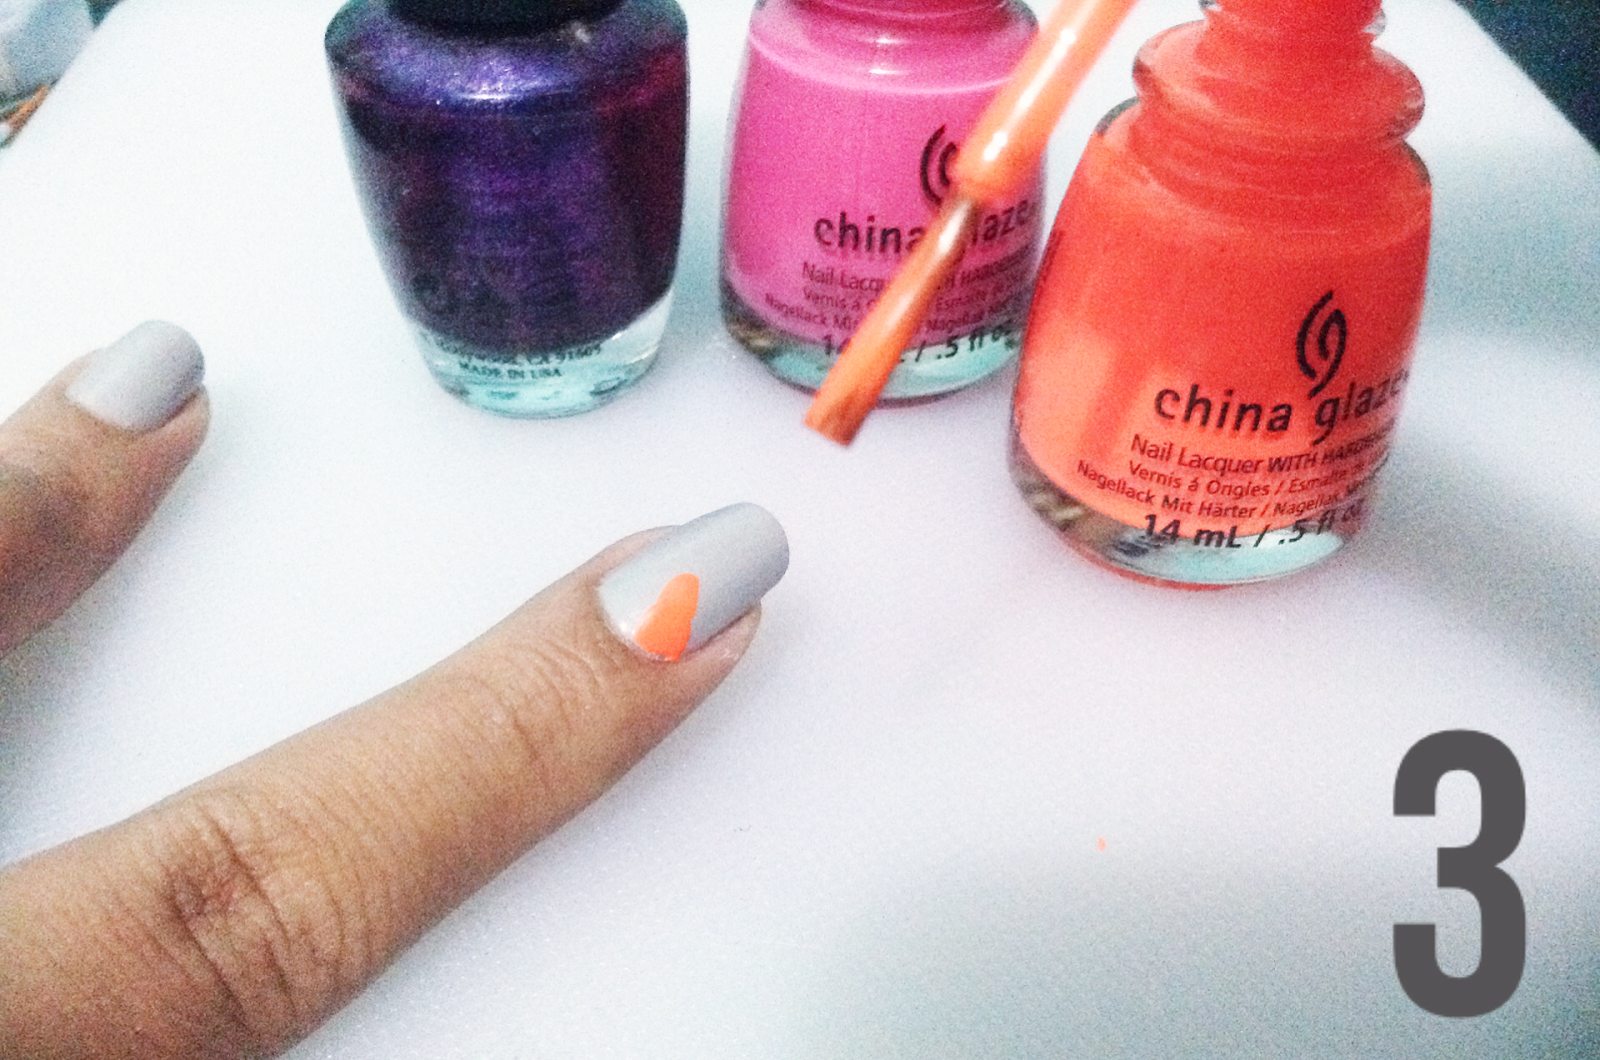
Using Purple nail polish as base, just cause it's my fav colour

Using acrylic paint and pointed soft bristle brush. 

After practice on sketch book, apply same brush strokes on nail. I found it best
when I have my brush vertical up. It allows using only the sharp tip of the brush.

This is why i love using acrylic paint. It's so easy to wipe off when you make
a mistake. Just wet cloth or tissue and wipe it off.


Voila Done!


Faith.Love Feline

Friday 24 October 2014

Nail Tutorial - Happy Deepavali


Happy Deepavali to all Hindu friends!


The most colourful celebration in Singapore. Women prepares the festive with henna applied on their hands, new traditional outfit Sari and jewelries, cooking a stomp of their delicious food and Indian sweets, colourful Rangoli in the entrance of their humble homes and of course the star of today's blog a new bhindi to finish up the look.

Bhindi is a a forehead decorative worn by the Hindus . Traditionally a red dot but with times changing a jewelry could replace the red dot and match with the tradional sari.
The range of stick on bhindi goes from plain old red dot to decorated bindis with diamonds.

So I thought using bhindi is an awfully genius idea to celebrate Deepavali.

Here's what you need:


Base
  1. Base coat
  2. Top coat
  3. Models own - Lemon Meringue (yellow)
  4. China Glaze - Be more pacific (light green)
  5. China Glaze - Exotic Encounters (medium green)
  6. A set of Bhindi
*i am contrasting the nail colours with the bhindi hence China Glaze Exotic Encounters will not have a bhindi decorated.

Tools

  1. Scissors
  2. Tweezer
Here's how:


 Step 1 - Clean your nails with Basic Manicure (click here to see my version)
                  - apply base coat


 Step 2 - Apply nail polish on nails
                      * I alternate the colours


 Step 3 - Using a Tweezer, carefully peel off one bhindi from its packet


 Step 4 - Place bhindi beside your nail and measure where you need to cut / 
                    if your bhindi is small then you would skip this step


 Step 5 - Carefully stick the bhindi on the center of your nail
                 *I start placing at the middle bottom of my nail bed and slowly work my way up
                 - continue Step 3-5 for the rest of your nails


 Step 6 - Apply 2 layers of top coat for best coverage of the bhindi


Let traditional decoration be your bestfriend


Faith.Love Feline


Monday 20 October 2014

Hair - 2 tones coloured hair


2 Tones Crazy Hair


Recently I started my own Home Hair Services. And my very first customer wants Purple hair with Blue streaks. Of course i jump to the challenge as i can't do streaks on myself. 

hmmmm maybe i could? 

So off to my good 'ol reliable ony distributor in Singapore , 77th Street @ Bugis Junction, store to find the perfect colour from Brand Manic Panic. I chose Ultra violet and Bad boy blue, 2 Ultra violet bottle and 1 Bad boy blue bottle. I'm using 80% Ultra Violet and 20% Badboy blue.  My customer's hair is waist length so about 2 bottle would do the job perfectly but since i'm using Badboy blue 20% means i will have remaining Ultra violet. Which is good cause we NEED to have balance colour to mix in with conditioner to keep colour stay on longer. (Click here for staying longer tips)

Lets Get Down to Business....


As you can see she had previously dyed her hair and new hair growth is about 5cm-7cm long. 

I would need to bleach her hair in order for Manic Panic colour to clinch on and colour to be vibrant. After mixing ratio1:2 (bleach powder:developer) in a mixer bowl, i applied onto her new hair growth first. Started applying from the bottom and worked my way up. 
*p.s. Please part hair into sections for easy application


After i did applied bleach mixture onto her new hair growth,  I then applied it to the remaining of her hair. And let the mixture work its magic for about an hour.

Wash off with ONLY shampoo, blow dry and the fun starts here..

Remember I said Ultra violet 80% and Bad bor blue 20%? so ... when doing streaks, i would dye Ultra Violet for about 3 cm thickness of hair : Badboy for 1cm thickness of hair. Keep alternating the order.


Once done, wrap hair with cling wrap or shower cap and allow its magic work for at least 1hour (longer would be best) and wash off only with water. Blow dry and you are jet set to rock.


* Do  alternate the colours at the side of your head, you want to create the streak look when you tie up.


Let Crazy Colour hair be your best friend


Faith.Love Feline

Thursday 16 October 2014

Nail Tutorial - Henna on Nails

Henna On Nails


Henna is an age old traditional temporary body tattoo which is widely popular for its use on bridal. Its dye comes naturally from a plant. Designs for bridal are flowers that are made up of lines and dots, or mandala. Here today i'm recreating henna design onto my nails in celebration of Deepavali, Festival of Lights, celebrated by the Hindus.


Things you need:


  1. Base Coat
  2. Top Coat
  3. OPI - Got the Blues for Red
  4. China Glaze - Be more Pacific
  5. China Glaze - Sugar high & Pom Pom
  6. OPI - Jade is the new Black 
  7. China Glaze - Atlantis


Tools:
  1. Green, Red & Brown Acrylic Paint
  2. Thin nail art brush
  3. Bobbi pin (for dotting)


Here are pictures to show you step by step :

Henna Nail 01


Henna Nail 02


Henna Nail 03

Let Henna nail be your bestfriend

Faith.Love Feline

Monday 13 October 2014

Nail Tutorial - Shades of Blue Strips


Shades of Blue Strips

This nail art does not need any nail art tool. Only requires the existing nail polish brush and a good steady hand.


This technique used is called Layering. You could layer the colours and there is no right or wrong on which colour to use. Sometimes relayering heps to thin a certain colour strip.

Things you neeed:


Base
  1. Base Coat
  2. Top Coat
  3. Couleur Inc - Liatris 143 (Lightest blue shade 01)
Strips
  1. China Glaze - Hanging in the Balance (Medium blue shade 03)
  2. OPI - No room for the blues (Light blue shade 02)
  3. OPI - Incognito in Sausalito (Dark blue shade 04)
  4. OPI - Haven't the Foggiest (Silver)

Here's how:

 Preparation - Start with cleaning your nail bed with basic manicure
                              (Click here for my version)

 Step 1 - Apply your favourite base coat

 Step 2 - Apply 2 coats of Blue shade 01 on all nails
                  - Allow to semi dry for at least 10 mins

Below i'm going to show two ways to paint on strips;


Example 1

 Step 3 - Paint on a strip of Silver

 Step 4 - Paint on Blue shade 04, just beside Step 3

 Step 5 - Paint on Silver , covering half of Step 4

 Step 6 - Paint on Blue shade 04, over Silver in Step 5, allowing a thin strip of
                    Silver to be seen
                  - Paint on Blue shade 03 , beside Silver

 Step 7 - Paint on Blue shade 02 ,directly above Blue shade 04 and Silver

 Step 8 - Paint on Blue shade 04, at the left side of nail

Example 2


 Step I - Paint the middle of nailo bed using Blue shade 04

 Step II - Paint Blue shade 03 on both side of Blue shade 04

 Step III - Paint Blue shade 02 on both side of Blue shade 03

 Step IV - Paint Silver on both side of Blue shade 02

From the examples i gave above, I hope you could see how i layered my colours. I did different layering and played with colours with each individual nail.

Hope you love this nail tutorial.  Similarly you could change the colours and mabe create rainbow using Layering Technique.

Let Shades of Blue be your best friend


Faith.Love Feline

Saturday 11 October 2014

Nail Tutorial - Pimping Creative Shapes


Pimping Creative Shapes

This idea is inspired by nailsup_ ,an amazing nail tech that I follow on Instagram. Check out her nail art, it is impressive.


I tried to recreate the nail art, breaking it down into a similar form. So here's my simple version.


Things you need:

Base 
  1. China Glaze - Pelican Gray (grey)
Shapes
  1. OPI - Grape...Set...Match (purple)
  2. China Glaze - Sugar High (pink)
  3. China Glaze - Orange Knockout (orange)
Lines & Dots
  1. Acrylic Paint Black
  2. Acrylic Paint Titanium white
Tools
  1. Medium size nail paint brush
  2. Thin size nail paint brush
  3. Dotting tool


Here's how:

 Preparation - Start off by doing your own basic manicure, cleaning your
                              cuticles and prep your nail ready. (Click here for my version)

 Step 1 - Apply your fav base coat

Step 2 - Apply 2 coats of Grey nail polish on all nails

Step 3 - Remove excess orange nail polish, leaving only a tiny bit on the tip
                  of nail polish brush
                 - Paint on a triangle at left side base of nail bed

 Step 4 - Remove excess pink nail polish, leaving only a tiny bit on the tip of
                    nail polish brush
                  - Paint on a rectangle at right side base of nail bed

 Step 5 - Remove excess pink nail polish, leaving only a tiny bit on the tip of
                    nail polish brush
                  - Paint on a square in the middle of nail bed

 Step 6 - Using orange nail polish to paint a long rectangle on left top side of nail bed

* you could attempt same shapes for other side or be creative and play with filling in shapes on your nail bed
* don't worry if your shape is not clear or the corners are not sharp, Step 7 will cover that

 Step 7 - Prepare black acrylic paint onto work station, diluting 1 drop of
                    acrylic paint with 1 drop of water. Mix it well , you do not want the
                    paint to be watery but diluted enough to glide onto nails smoothly
                  - Coat medium size brush with black acrylic paint and paint on lines
                    around shapes you have created

 Step 8 - Prepare white acrylic paint onto work station, diluting acrylic paint
                   with water. Mix well

 Step 9 - Using a dotting tool (preferably small dots dotting tool), dip
                    vertically into white acrylic paint and start dotting onto nail
                  - Choose maybe 1 or 2 shapes per nail to add white dots in

 Finish - Apply your fav top coat and you are set to go!


For this nail art, you could let your creative juices flow. I create shape nail art only 1 nail per hand but if you like you could explore different shapes on all nails, play with shape colours and dots.

I had fun creating this nail art, hope you will too!

Let creative shapes be your bestfriend

Faith.Love Feline