Sunday 15 March 2015

Nail Tutorial - Cris Cross Snake


Criss Cross Snake


It's has been a looooong while since I post up a blog. My nails have grown tremendously
long and stronger then ever. Well before it breaks Im gonna start posting up a
few Nails Tutorials.

I have been trying to find a good tape that sticks onto nails yet doesn't peels off the base color.
Bought myself some tape, manufactured for the use of creating double-eyelids, and loving
the texture. Perfect!


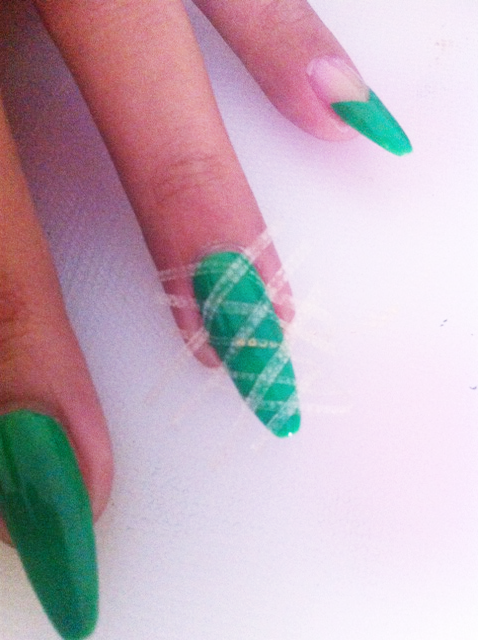
You can get this tape from beauty stores like Watsons or Guardian or Sasa,
could even find it in Bugis Village.


So Let's start Cracking Lacking...

These are the nail polishes I'm using today. You can play it up with other color
of your choice. I'm using Three Beauties Neon Green as once the tape is off
I want a striking luminious color seeping out.

First of all, after cleaning n shaping your nails, add a coat of your
favourite Base Coat and 2 layers of Three Beauties Neon Green.

I have cut out an inch of tape, further cut it into thin strips,
tape onto nails in a criss cross manner. DO make sure the tape
at the side of nails are secure, that is the most important place that
has to be securely taped.

Apply 2 layers of O.P.I  Angel with a Leadfoot,
making sure the edges of nails are covered with nail polish.
Now to create  a contour effect. We are using ChinaGlaze Westside
Warrior and  Make up Sponge.
Drop 2 drops of nail polish onto sponge and  dap onto side of nails. See picture below.

Now carefully  peel of the tape starting from the upper layer and work your way down
Got some nail polish on sides of nails? Don't worry just  dip your cotton bud into nail
polish remover and slowly gently rub off the nail polish.
Now apply your favourite Top  Coat  and you are done.

Voila you are done. I dazzle up the other nail with indian decals. You can find that tutorial here.

Hope you like my Tutorial.


Let Mix up nails be your bestfriend
Faith.Love Feline


No comments:

Post a Comment