Sunday 28 September 2014

Nail 101 Buffering Cream


Buffering Cream


Came across this nail technique when I was in Hong Kong 2 years ago. They called it Waxing. 
They saw how stained my nail bed was and asked if I wanted to wax my nail. They explained waxing the nail bed helps to eliminate stains and prevent nails from staining again, also it adds shine and hardens the nail.

So of course I jump on the bandwagon and went on.

After the nail manicurist was done with the waxing process, my nail was smooth and shiny. And yes, after the process my nails were not as yellow as before. 


I manage to find the same brand of product that was use in Hong Kong here in Singapore. 
You could get it at Far East Plaza, Orchard Road. Enamour Beauty, #04-53b. It's the only shop that I manage to find.

What is the difference using a normal buffering nail file versus a buffering cream?
  • Buffering cream gives a shinier, healthy gloss 
  • Buffering cream last a month or until your new nail grows out
  • Nail file is cheaper but a bottle of buffering cream last a long time. I bought mine early 2013 and till now (mid 2014) i have not even finish half of the bottle.
  • Sometimes when you just want to do a super quick manicure and skip the base coat process? Yes, with this you could skip that part. 


So grab yourself a bottle of Buffering Cream (SuperNails) and Chamois Nail Buffer.

I'm not gonna go without giving you tutorial on how to 'wax' your nails...

Here's How:


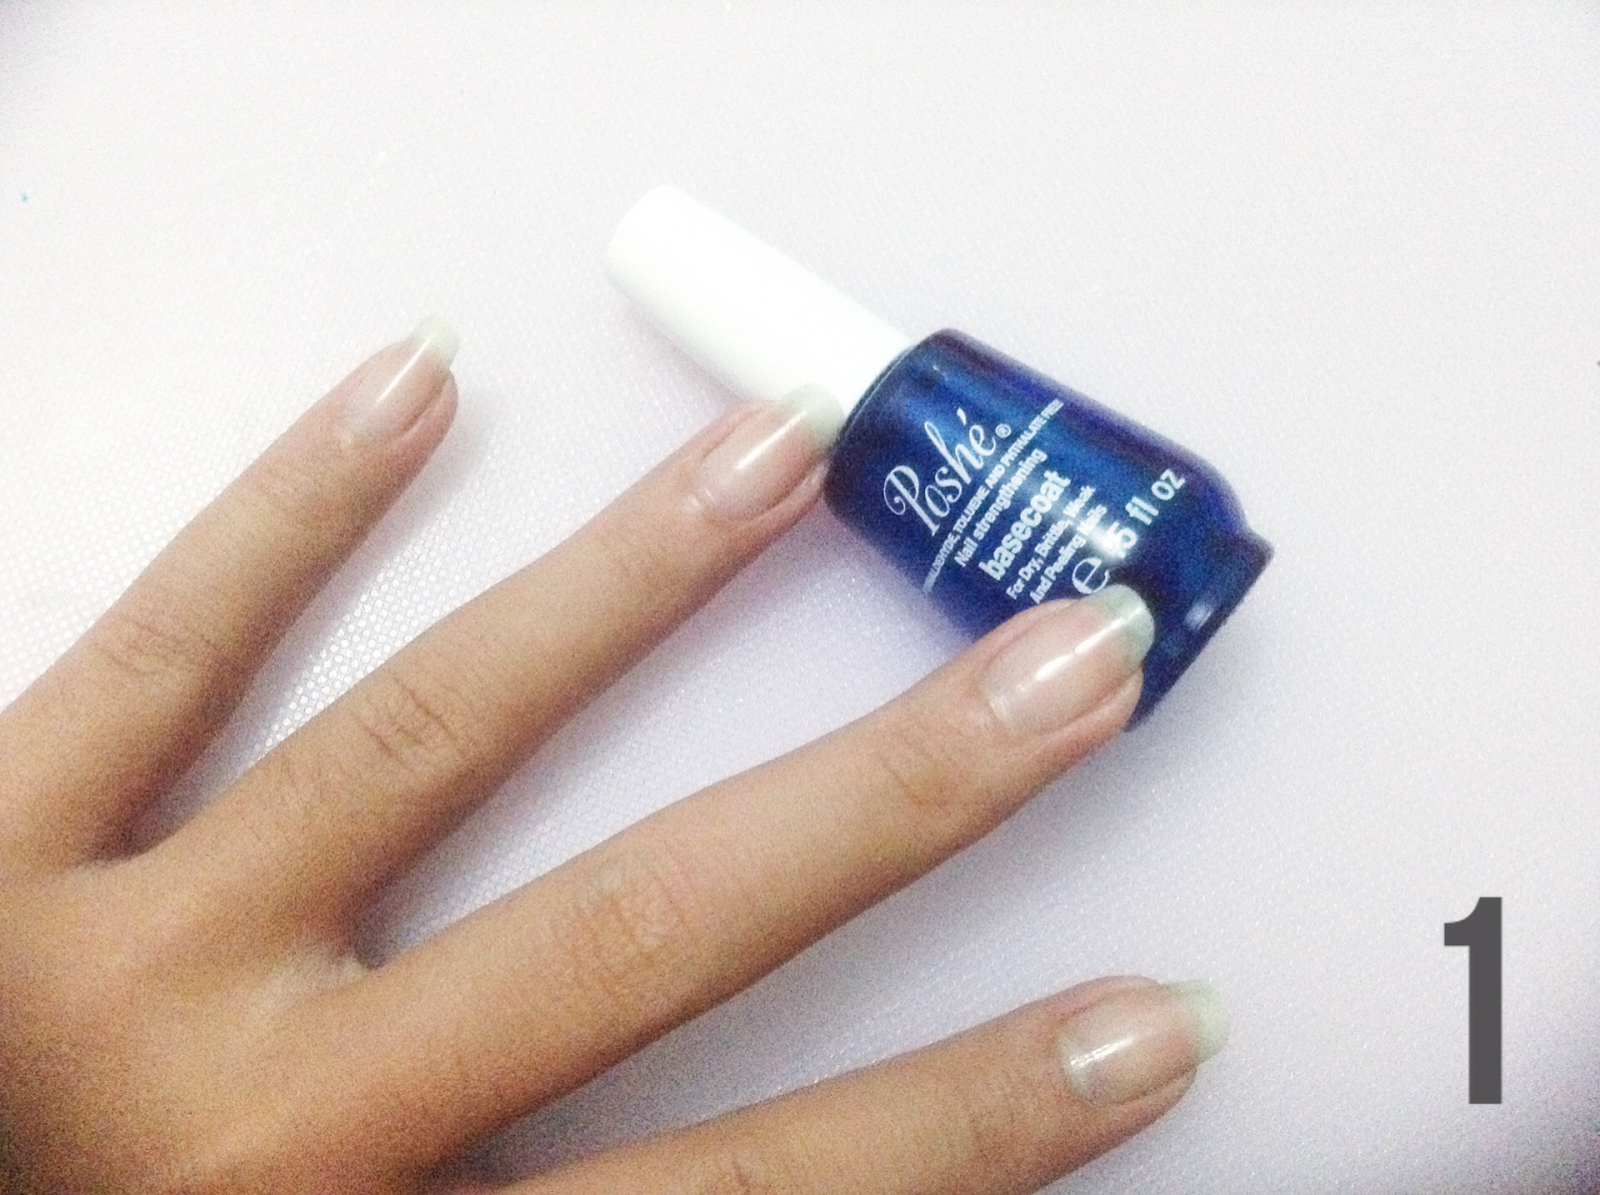
  • Step 1 - Clean your nails, cuticles and buffer as per usual or you could follow my 
                        Basic Manicure tutorial here
                      - Slap on generous amount of buffering cream onto each nail.

                        Spreading the cream to entire nail bed and allow to sit for a few mins.

  • Step 2 - Start buffering your nail with chamois nail buffer
                      - Go thru a back n forth motion in a firm fast pressure to create friction and alow the
                           
                         buffering cream to work. You might feel a little heat developing, if it gets too hot

                         stop and buffer another nail and come back again. 

                      - This buffering process may take a few mins on one nail. Stop when you see your nail                        
                         has been shine enough.

  • Finish - Clean your nails with a paper towel or a cloth and that's it Voila!

Quickly try applying a nail polish on, you won't believe how smooth and easily your nail polish will glide on.

Hope you love this product as much as I do.


Let Clean Shiny Nails be our bestfriend


Faith.Love Feline


Disclaimer: This is not a sponsored post. All views expressed are on my own.


Friday 26 September 2014

Nail Tutorial Diamonds la Beaute


Diamonds la beaute


Ever had a last minute date with the guy you been waiting for and your nails are just horrible???

Well it happened to me and I simply can't help myself but to figure out a way to glam up my nails in the fastest and easiest possible way.

First of all, the rule is to always stock up nail stickers. You buy your nail polishes or tools and you chance upon them at the store, don't just walk past them. Take your time to carefully pick one or a few out for RAINY DAYS. 

Trust me, as much as I love to paint designs myself, these stickers are a real life savers.

Oooo n not forgetting the Diamonds....


Some stores sells it in a box with different colours of diamonds or they pre-pack it to like about 50
diamonds in one. Those too have to be in your rainy day stash. They are the quickest to put on and instantly shines your nails. Transforming your nails from dull to expensive and professionally done.

Tips on putting on Nails Stickers
  1. After applying your nail polish, allow nail polish to semi dry for about 5 mins before application of nail sticker. 
  2. Always use a sharp pointed object (tweezer/toothpick) to press down gently the sides of the nail stickers. any sides that are not firmly pressed down will result in getting caught in your hair and you will lose it in an hour.
  3. Apply 2 coats of top coat to ensure sticker is secure onto nail
Tips on putting on Diamonds
  1. Place diamond onto nail when nail polish is freshly wet. this helps diamonds to stay secure and stick to nail.
  2. Apply 2 or 3 top coats for better nice finish.

We Felines should always have glam nails regardless of what event or time frame we have.
Don't you agree?


Let La Beaute be our bestfriend


Faith.Love Feline


Wednesday 24 September 2014

Nail Tutorial Leopard


Leopard 

Leopard print has been constant in the fashion world. Wearer gives a seductive, erotic message suggesting feminine cunning and instinct.

The desire to be notice, putting front a strong statement of confidence.


Things you need:


  1. Base coat
  2. Top Coat
  3. Models Own - Lemon Meringue (yellow)
  4. China Glaze - Orange Knockout (orange)
  5. China Glaze - West Side Warriors (green)
  6. Dotting tool ( small and medium size)

Here's How:


  • Step 1 - Start cleaning your nails and cuticle.
                     - Apply your fav base coat
  • Step 2 - Apply 2 coats of Orange nail polish to thumb and index finger
                      -Apply 2 coats of Yellow nail polish to middle/ring/last finger
  • Step 3 - Prepare orange nail polish on work station, drop a few drops
                        of nail polish onto a plastic base
                     
                      - Using medium size dotting tool, dip into orange nail polish and
                       
                        dot onto yellow nails

*you coud choose to apply dots onto full nail or half, here i'm concentrating only on the
outside of the nails. (outside meaning ~ left hand =left side/right hand = right side)
  • Step 4 - Prepare green nail polish on work station, drop a few drops
                       of nail polish onto a plastic base

                      - Using Small size dotting tool, dip into green nail polish and dot 

                        onto sides of each individual orange dot.

* cover orange dots with maximum 3 green dots, depending on size. 
   you would want to still be able to see the orange dot as that is the empasize
  • Step 5 - Continue covering all orange dots with green and apply Topcoat when you are done
Voila fresh Leopard print....


Let fashionable leopard be our bestfriend


Faith.Love Feline


Disclaimer: This is not a sponsored post. All views expressed are on my own.


Nail Tutorial Sunset Balloons


Balloons up in Sunset

The visual effect of a bunch of balloons flying up against the background of a sunset is always breath taking as well as rare....


From Pinterest, imgur.com

Came across a pic from Pinterest and decided to attempt to recreate on my small nail canvas. This creation is done where the full picture is accomplished when all 5 nails are placed in a certain way. For this, my Balloon flys vertically up past my thumb....


With this, there are a couple of steps and fine details. I will try my best to explain the best i could.


Things you need:


Base
  1. Poshe Basecoat
  2. O.P.I - The 'IT' Colour (Yellow)
  3. Seche Vite topcoat

Sunset (gradient)
  1. China Glaze - Orange Knockout (orange)
  2. China Glaze - Sun-kissed (bright yellow)
  3. Revlon - Reckon Craving (red)

Balloons
  1. O.P.I - No Room for the Blues (blue)
  2. O.P.I. - Anti-Bleak (dark purple)
  3. O.P.I.- Angel with a Leadfoot (white)
  4. China Glaze - Sugarr High (pink)
  5. China Glaze - Be More Pacific (green)
  6. Faceshop - BK 901 (black)


Tools
  1. Foundation Sponge,  cut into small pieces (have about 4 at side)
  2. Tweezer
  3. Thin nail art brush
  4. PVA Glue (use for easy clean up on side of nail during gradient application)
  5. Chopsticks (For dotting)
*note: i have filled up PVA glue into an empty nail polish bottle. With it, application is much easy to brush on.


Here's How:


Gradient

 Step 1 - Clean your nails and apply a coat of base coat

 Step 2 - Apply two coats of O.P.I The 'IT' Colour onto all 5 nails

 Step 3 - Brush on PVA glue onto sides of your Thumb, Index & Middle finger

 Step 4a - Prepare some Orange Knockout & The 'IT' Colour onto work station
                    - Dip a piece of the Foundation sponge into Orange Knockout 

 Step 4b - Dab the sponge onto half of your middle finger

 Step 4c - Take a new foundation sponge, dip into The 'IT' Colour and dab 
                   over Step 4a (you want the colour to gradually change, not yellow ~ orange)

 Step 5 - Take another foundation sponge , dip into Orange Knockout and dab 
                    onto entire nail of your index finger

 Step 6a - Dab Orange Knockout onto your entire thumb

 Step 6b - Prepare ReckonCraving onto work station
                    - Use a new foundation sponge and dip into

 Step 6c - Dab Reckon Craving onto your thumb, only dab the area around
                     your cuticle.
                   - Once again go back and forth dabbing with Orange Knockout and 
                     Reckon Craving until you get a gradual change of colour

  Step 7 - Prepare Sun-Kissed onto work station
                   - Dip Thin nail art Brush into nail polish

 Step 8 - Draw a few line onto Index Finger and Thumb
                    (this creates the horizon look)

Balloon


 Step 9 - Prepare all Balloon colours onto work station

 Step 10 - Using smaller end of chopstick and start dotting onto thumb
                    - Alternate your colours, and leave the sides free

 Step 11 - Dot a few dots on the side closest to the thumb on your index 
                     finger (this is the tail of your balloon bunch)

 Finish - Apply two coats of topcoat and Voila !

*note: click to for tutorial on Cleaning Nails & Dotting Nail 101


Let Balloons, colourful balloons be our bestfriend


Faith.Love Feline


Disclaimer: This is not a sponsored post. All views expressed are on my own.

Wednesday 17 September 2014

Hair - Ellips


Hooray for Ellips


I swear by this product. Uses it everyday and its benefits are tremendous!

A friend introduced Ellips to me a few years ago. She chance upon it during her trip to Batam and said that its cheap why not give it a try. 

I had a jar of Ellips Orange, for dry, brittle hair. Applied one capsule after I towel dry my hair. To my amazement my hair was so much softer when my hair dried. Just a little info, my hair back then went through curling process and now hair dyeing process. After a week of religiously applying, my hair was the center of attraction. Friends asked what I did, where I went for hair treatment. Of course they can't believe it was just this one home product that gave life back to my hair.

Right now I rotate using Yellow, Purple and Orange.  All three bottles have different usage (scroll down for explanation). I read in a Magazine that hair is just like our body. It requires different nutrients everyday. And by rotating hair oil range, I'm giving my hair the nutrients it needs.

*note: you can rotate your shampoo range, hair oil, hair mask.


Contains 
  • Moroccan oil
  • Vitamin A, C & E
  • Pro vitamin B5
5 range of oil for each hair type
  • Pink - Hair treatment for hair that has gone through chemical treatment
  • Yellow - Helps to nourish and moisturize
  • Purple - Maintains & enhanced chemically coloured hair
  • Orange - Rectify stressed, damaged or brittle hair
  • Black - Maintain gloss on healthy and full bodied natural black hair


How to use
  • After shower, towel dry hair
  • Twist and open one capsule / Cut up the top part of capsule and pour onto palm
  • Rub palms together and run fingers through hair gently, starting from the roots and work your way up to top of head. 
* use every after hair wash 
* use before blow drying hair or using any heated hair appliances
* use it on dry hair when your hair needs a little Perk-Me-Up

Where to get
  1. Sasa, almost all outlets of Sasa sells Ellips
  2. Mustafa Center
  3. Indonesia, Batam is where I would go, cheaper ferry ride. You can get it at Batam Malls like Mega Mall, Nagoya Hill Mall or BSC Mall. Find it in small shops that sells beauty products or ask around, they know the brand. 

Do give it a try.

I have recommended to all my friends and they love it!

Let Ellips be our bestfriend


Faith.Love Feline

Nail Tutorial - Polka Dots


Polka dots / White on Green

Dotting in the month of September


Inspired by the little gift box I have.


Things you need:


  1. Dotting tools (check my previous blog for info on dotting tools)
  2. Seche Vite Top Coat
  3. Poshe Base Coat
  4. China Glaze - Turn up Tuquoise
  5. China Glaze - Sugar High (for dotting)
  6. Acrylic paint - White (for dotting)


Here's how:

 Preparation - Clean nails , Basic Manicure

 Step 1 - Apply base coat to all nails

 Step 2 - Apply China Glaze-Turn up Turquoise to all nails

 Step 3 - Twist open China Glaze-Sugar High, blot some nail polish onto a
                    plastic base
                     - Using a dotting tool , dip into the nail polish
                     - Place 3 diagonal dots (Start a middle down,
                        then dot 1 dot beside it)

 Step 4 - Using same dotting and redip into nail polish
                  - Place another 3 diagonal dots below Step 3 line
                   - Place the dots in an alternate position 

 Step 5 - Squeeze out some Acrylic White paint onto plastic base,
                    using a clean brush dip into clear water and dilute acrylic paint
                  - Using a dotting tool, dip into acrylic paint
                  - Place 4 vertical dot in the middle of your nail bed

 Step 6 & 7 - Using same dotting tool and redip into white acrylic paint
                         - Place 3 dots vertically beside Step 5 vertical line
                         - Place the dots in an alternate position

 Finish - Apply top coat , let it dry and you are ready to groove you
                    polka dots

*note: the size of the dots are the same for both Pink and White dots. I would suggest using a medium size dot for this.


Polka dots are always an all time favourite print of girls.... Especially Ms Minnie Mouse...


Have fun! 

Let Polka Dots be our bestfriend

Faith.Love Feline


Disclaimer:This was not a sponsored post. All views expressed are on my own